Key Highlights
- Personalized adds on smart TVs can be annoying
- Ads show up on different apps installed on the TV
- Option to disable ads is available
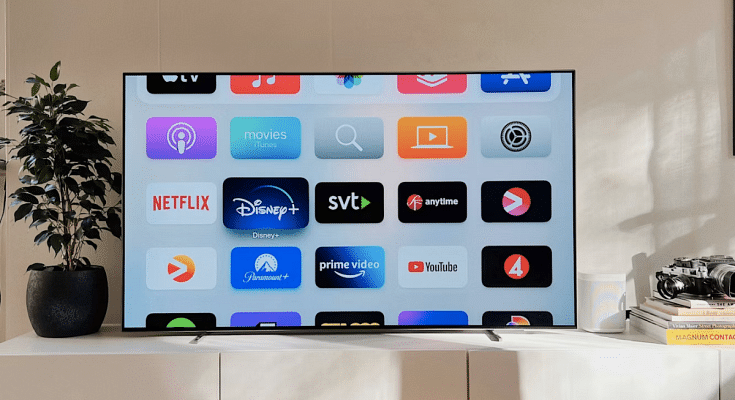
Smart TVs have been a game changer for entertainment buffs. The large screen panel combined with a whole array of modern features such as internet connectivity, compatibility with external wireless peripherals, and third party app download makes the current-generation TVs all advanced. If you own a smart TV, specifically an Android or Google TV, you must be aware of the ads that show up on the home screen every time you switch it on.

Also, while accessing any app, you might come across a whole set of personalized ads curated as per the type of content you consume. While this might be beneficial, it tends to be annoying most of the times. Specifically, when you don’t wish any breaks while watching your favorite show or movie. Disabling or at least controlling the ads to certain extent is still easier with mobile devices such as smartphones and tablets. But how do you do it smart TVs? Well, this is a step-by-step guide that will help with with change and control advertisement settings on your smart TV for a more personalized experience.
For the tech geeks, stay updated with the latest cutting-edge gadgets in the market, exclusive tech updates, gadget reviews, and more right on your phone’s screen. Join Giznext’s WhatsApp channel and receive the industry-first tech updates.
Also Read: Smart TV Storage Crisis? How To Get Additional Storage For Your Smart TV To Install Games, Apps
How To Control Personalized TV Ad Settings And Turn Off Ads

Before we proceed, it is worth adding that every smart TV comes with its own advertising ID. Customers can reset or even delete advertising ID which will help with a personalized ad experience.
Step 1: Power on your smart TV
Step 2: Open the home screen
Step 3: Tap on the Setting menu (gear icon)
Step 4: Select the ‘Device’ option
Step 5: Click on Preferences
Step 6: Select About option
Step 7: Now, click on the Legal information tab
Step 8: Hit the Reset advertising ID option
Step 9: If you wish to delete the adverstising ID, then tap on the D-Pad option twice and then select the change.
