Key Highlights
- Apple iOS 18 brought along topographic feature for Maps
- Available for all iOS devices including iPhone, and iPads
- Can also be used on Apple Watch
Apple WWDC concluded earlier this month with the Cupertino giant introducing a whole range of updates for iOS, iPadOS, and MacOS ecosystem. With the iOS 18, Apple introduced the topographic feature for Maps. This new feature specializing with hiking trails can be accessed on the Apple devices that run on the new versions. Which all versions support the topographic hiking trail feature and how can you set it up for easy use? Read on the step-by-step guide below:
Also Read: Apple Maps Address Update: How To Setup, Modify Home Address On Apple Maps
OS Versions Compatible With Apple Maps Topographic Hiking Trails Feature
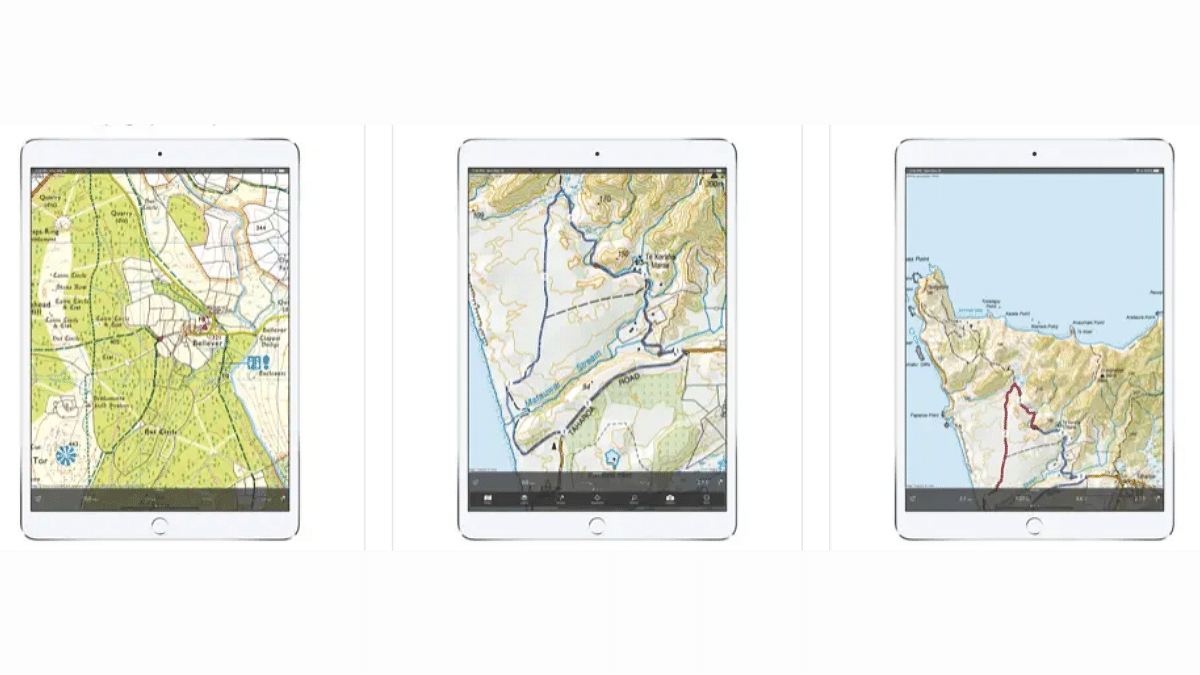
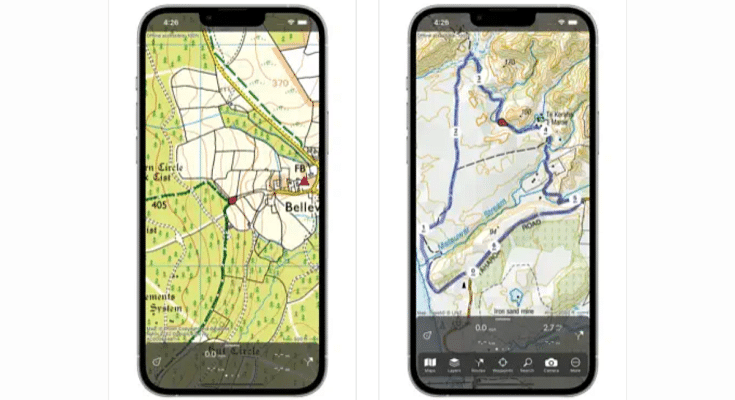
Apple has released the topographic hiking trail feature for Apple Maps recently at the WWDC 2024 event. This special feature will be useful for the users who seek outdoor adventures and goes on hikes and treks. The beta version is being made available to the compatible devices with the stable version being released in the later stages. As for the compatible OS versions, the Apple Maps topographic version will be available for the devices running iOS 18, iPadOS 18, watchOS 11, and MacOS Sequoia.
Also Read: Google Maps’ New Privacy Feature: Location History Will Now Be Saved on Your Device
Steps To Use Apple Maps Topographic Hiking Feature
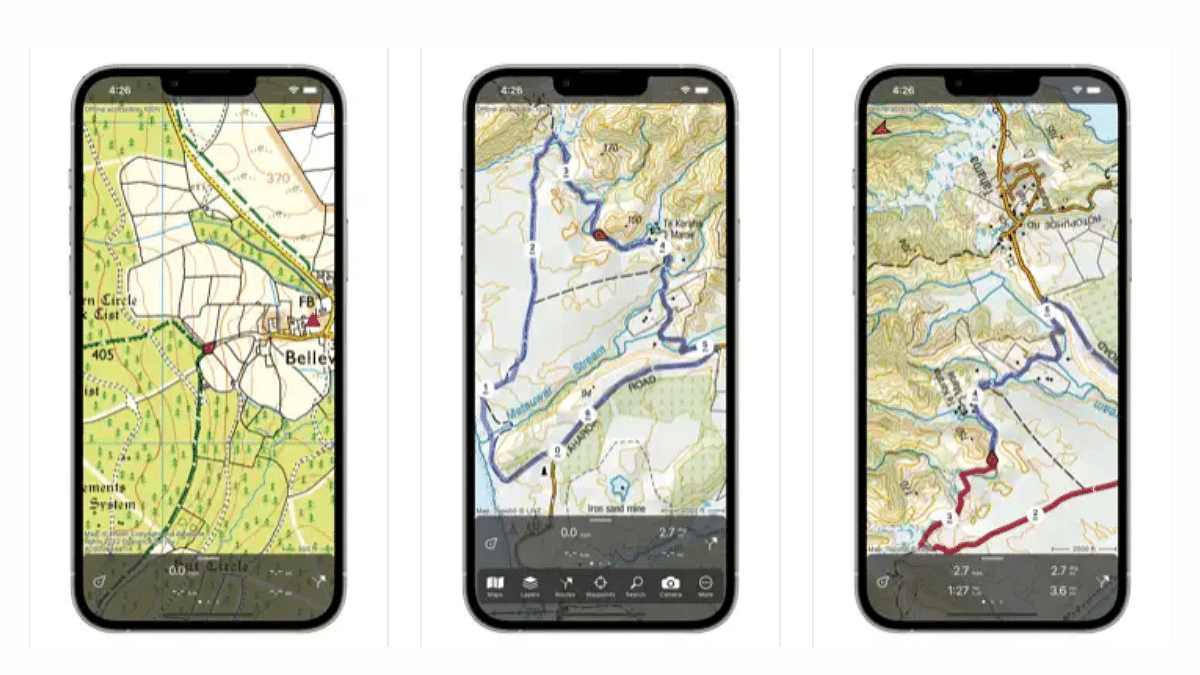
Step 1: After launching the Maps Maps application, type in the trail for which you wish to get the topographic details
Step 2: A Trailheads/ Trail option will pop up in the search
Step 3: Select the “Plan a hike” option
Step 4: Now, click on the option where you are planning the visit once it shows up on the screen
Step 5: Check for the alteration in the distance and elevation metrics
Step 6: You’ll see three different options including Reverse the hike, draw and Out & Back map location, and Close Loop. Select the preferred option.
Step 7: Once done tap on Save
Step 8: To save this trail with a specific name enter the name and tap on Done.
Step 9: Now, just tap on the profile icon and go to Offline Maps option to see the saved trail map