Key Highlights
- Mobile camera photography is the new hype
- Smartphones with multi-camera sensors are standard in the market
- Dedicated modes available for low-light photography using smartphones
- More steps listed below
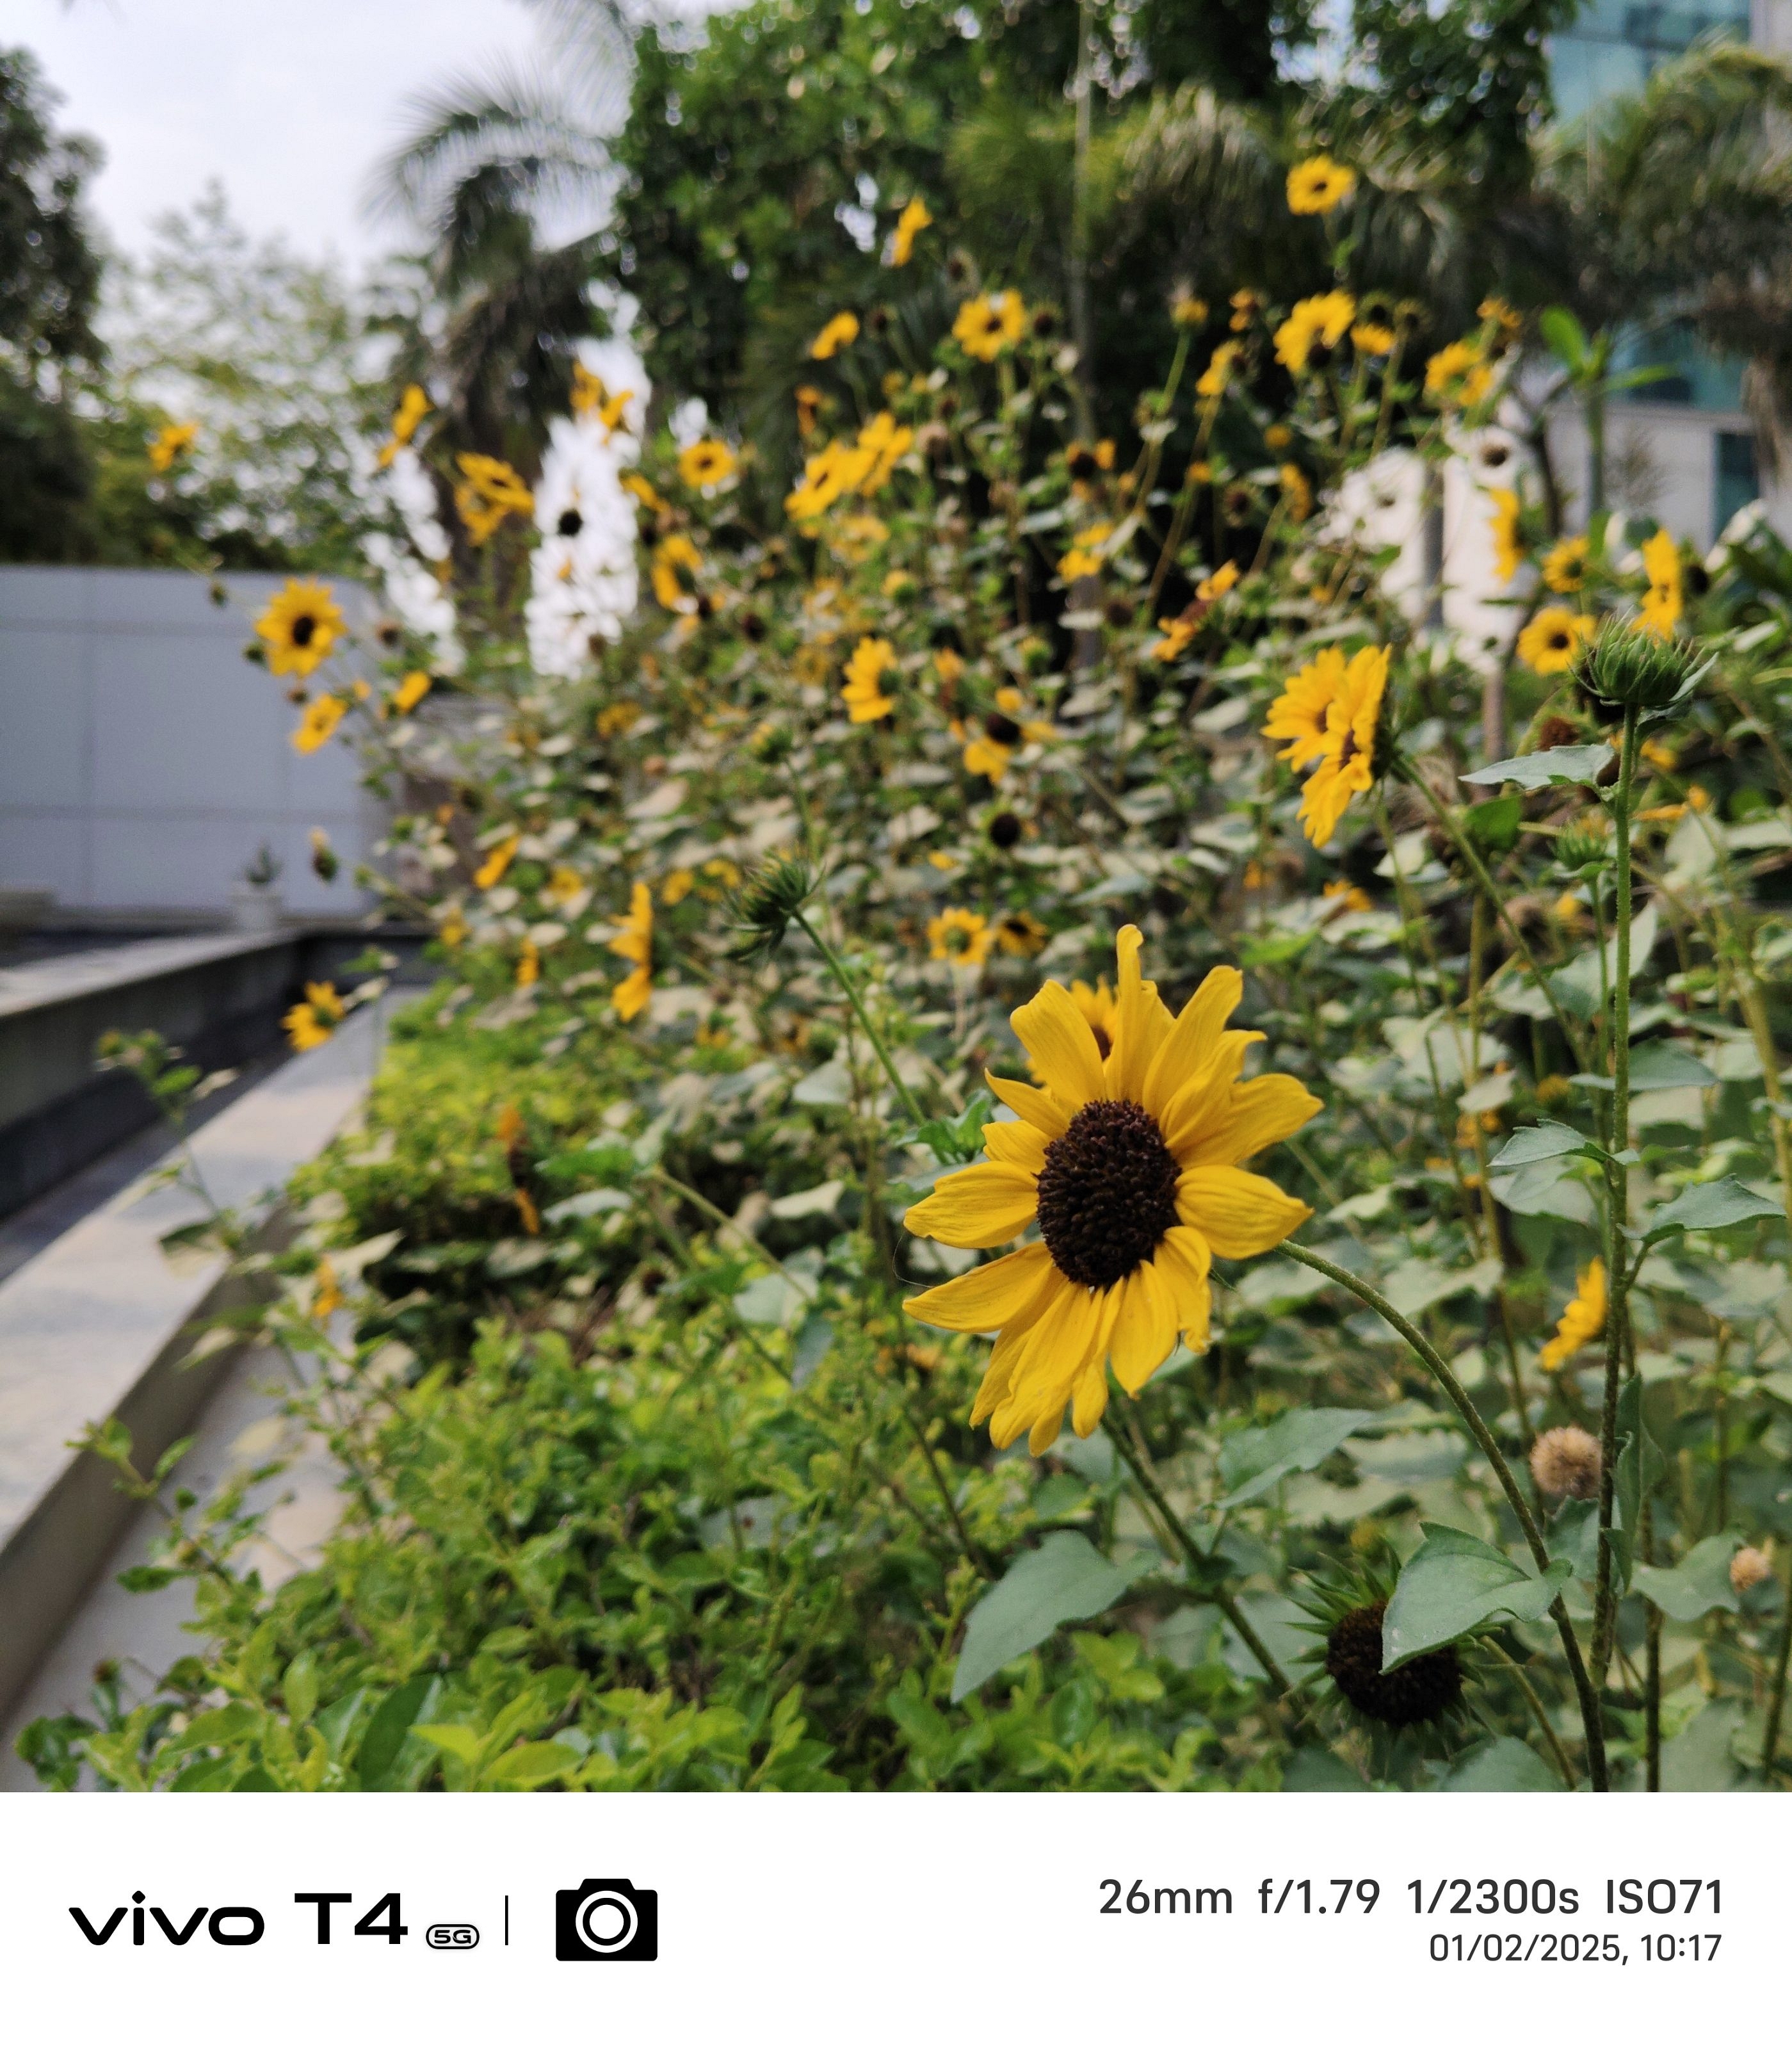
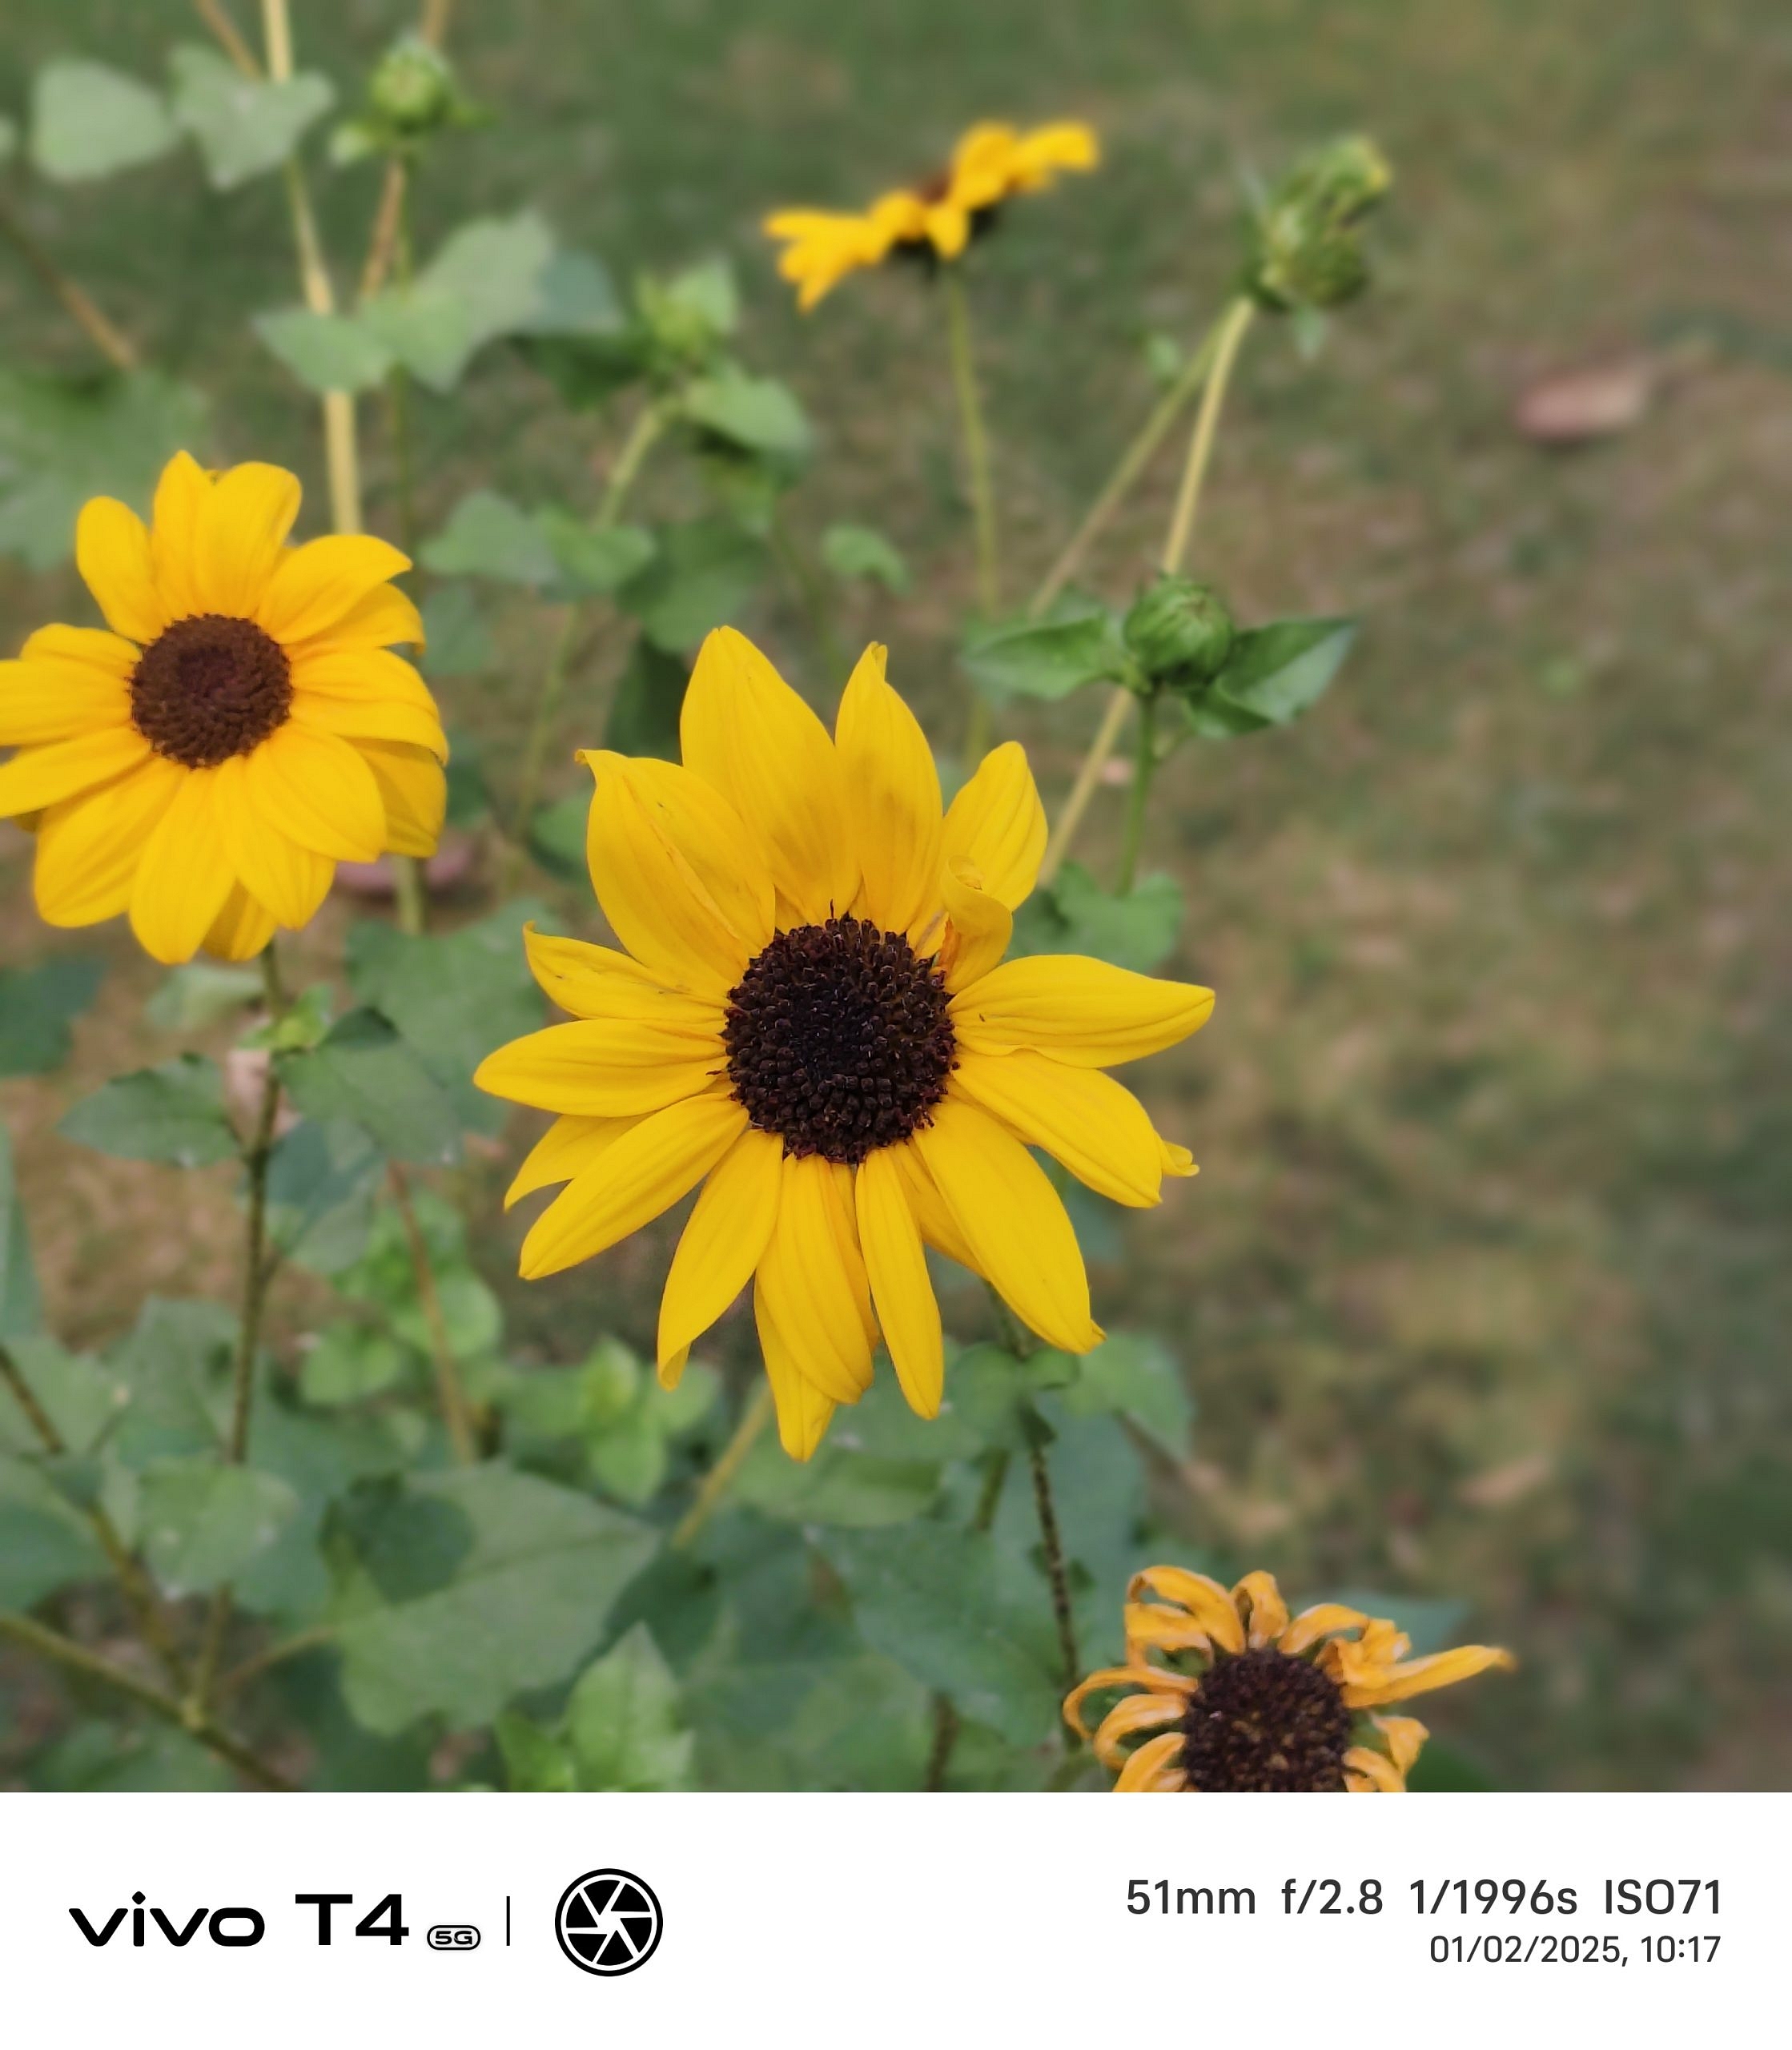
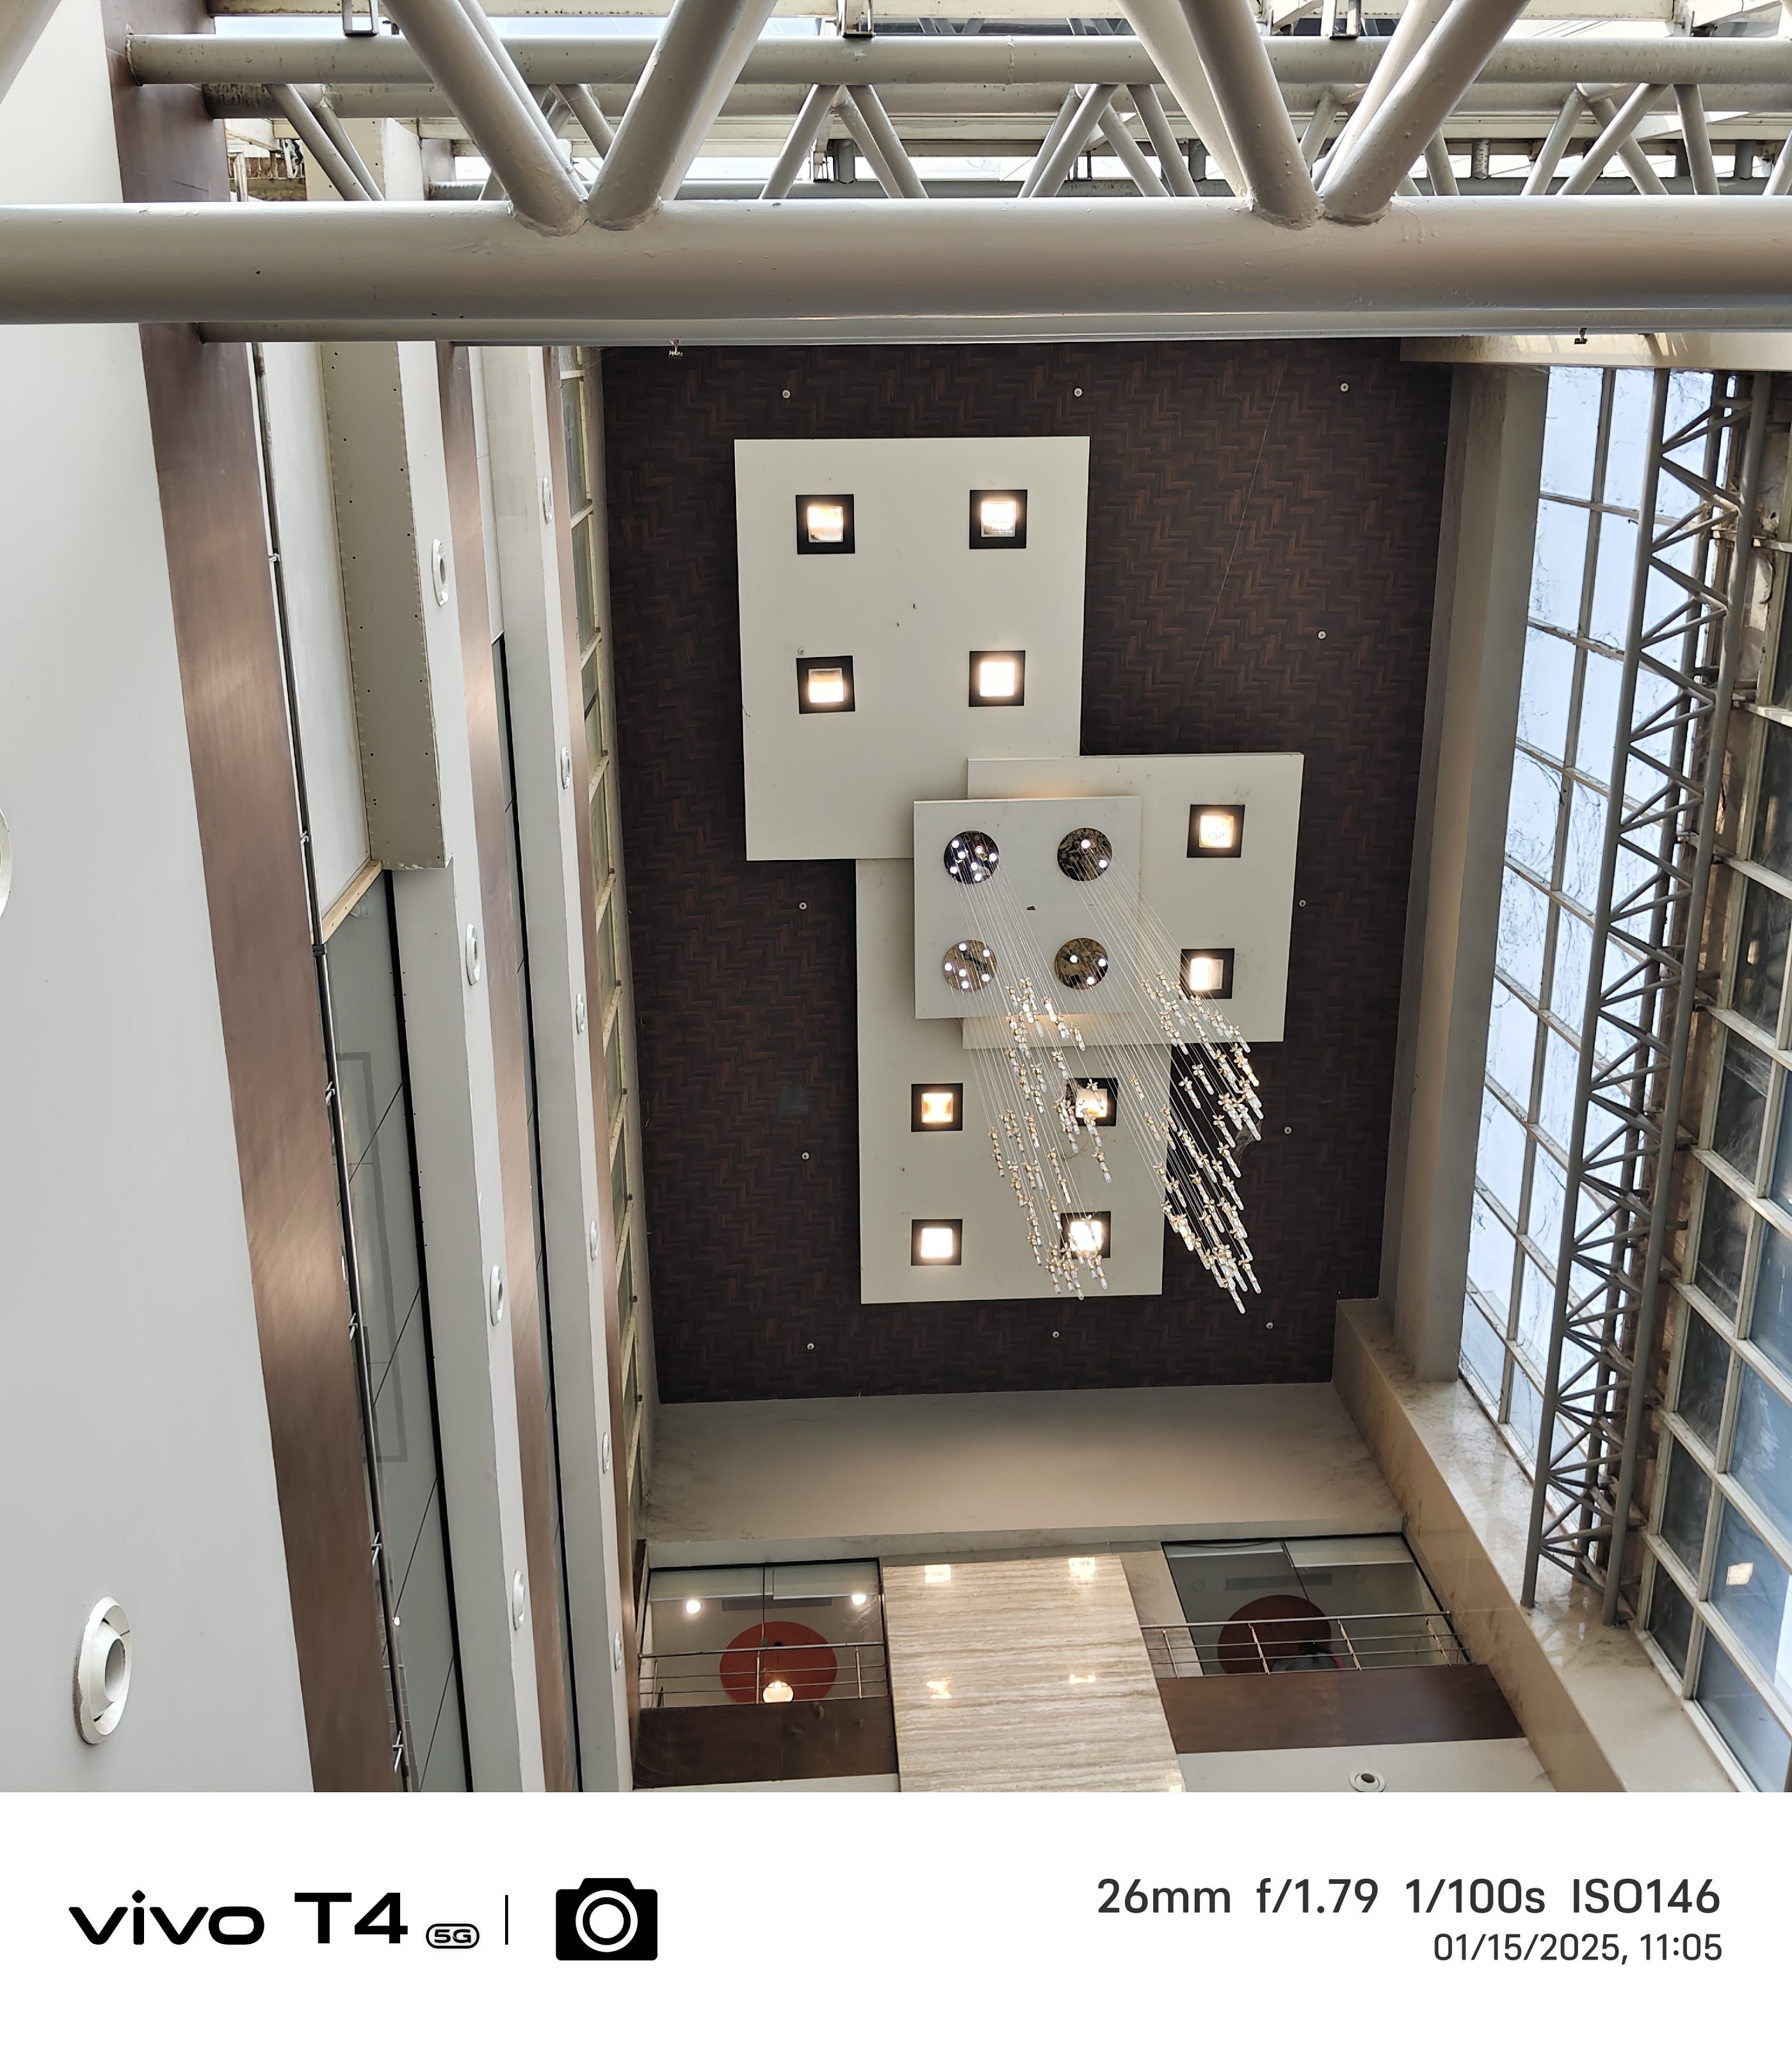
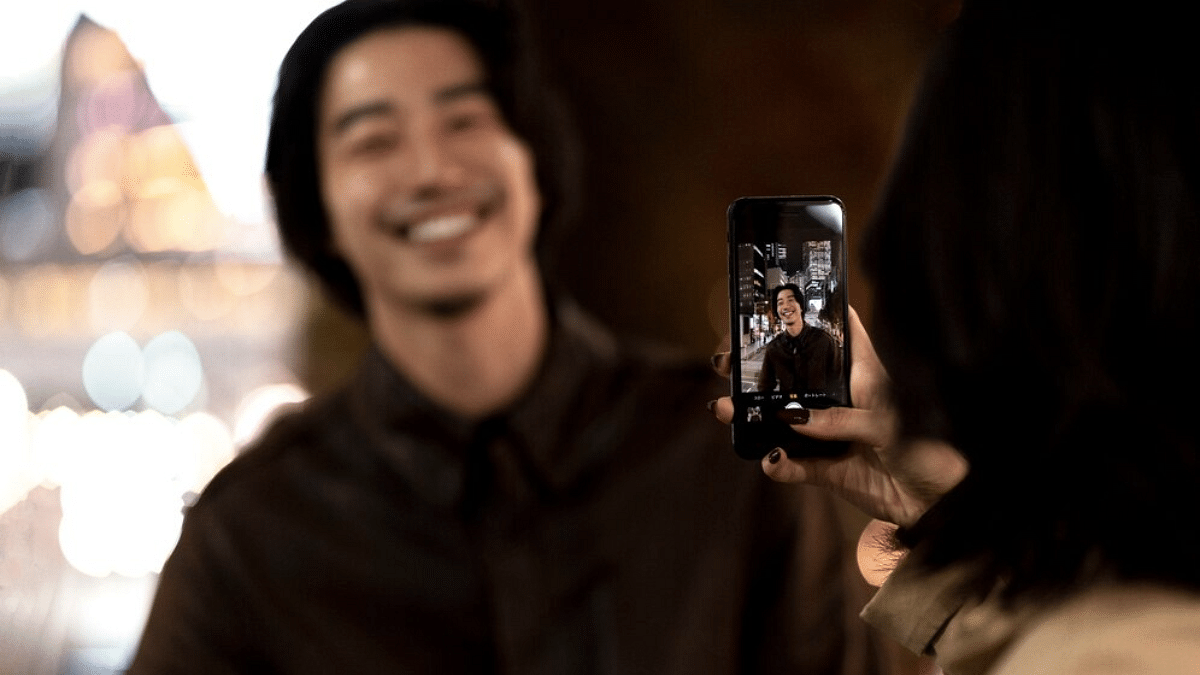
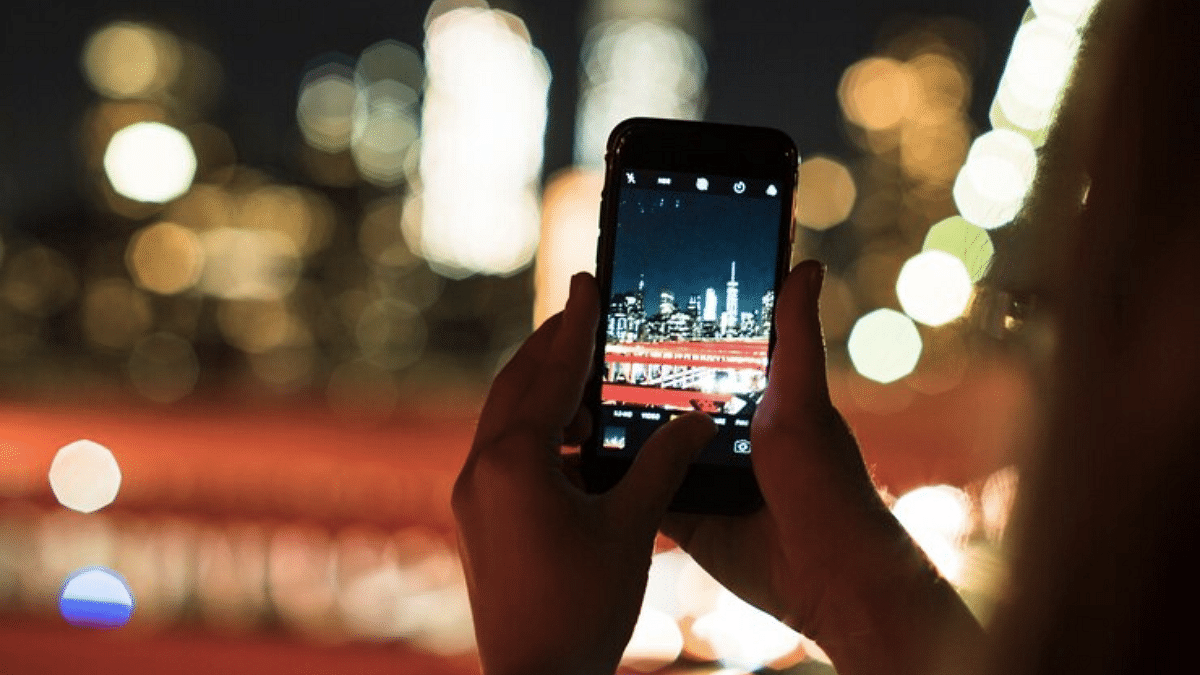
Mobile cameras over the years have evolved drastically. With multiple sensors combined in a smartphone, the point-and-shoot photography experience has reached a whole new dimension. No complicated manual camera settings is now required to get that perfect click if you are using a modern-age smartphone. Most of the modern day mobile cameras are well equipped to handle daylight and night scenes. But for the latter, default settings might not always do the trick. If you too have been struggling to get that perfect low-light clicks then you have stopped by the right place. Here in this guide, we are helping you to make the most out of your smartphone camera and capture high-resolution photos in low-light conditions.
For the tech geeks, stay updated with the latest cutting-edge gadgets in the market, exclusive tech updates, gadget reviews, and more right on your phone’s screen. Join Giznext’s WhatsApp channel and receive the industry-first tech updates.
Also Read: Lenovo Tab K11 Enhanced Edition Review: Fits All Bills?
Tip 1: Switch To Night Mode If Required
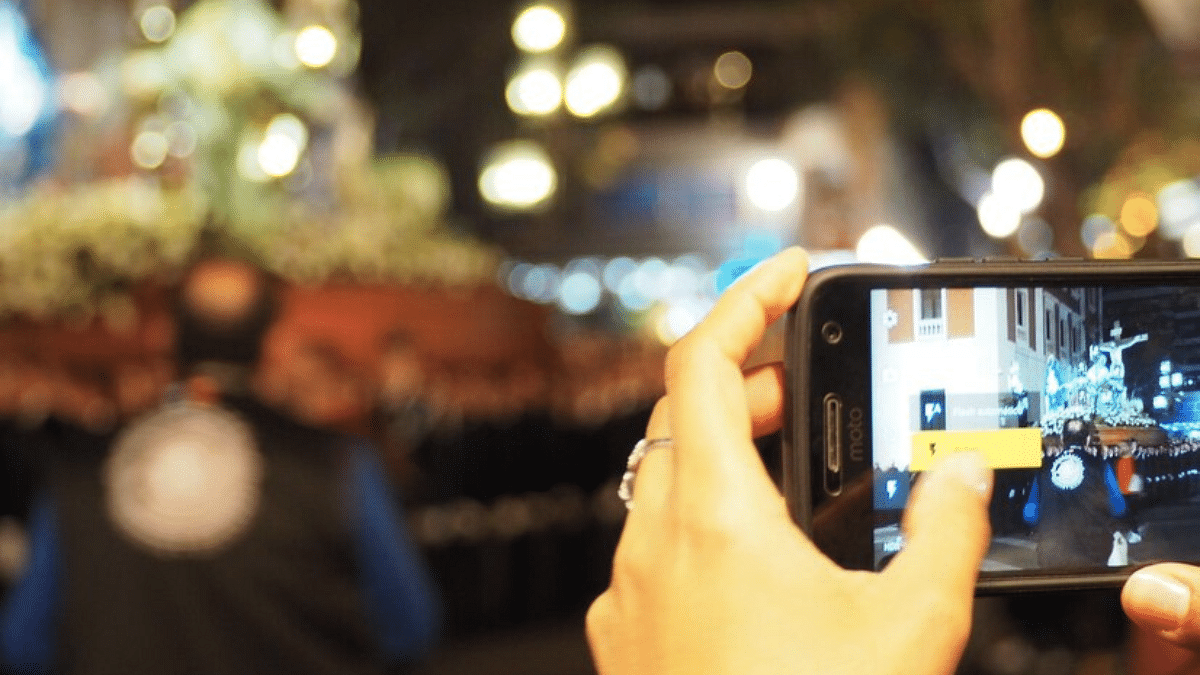
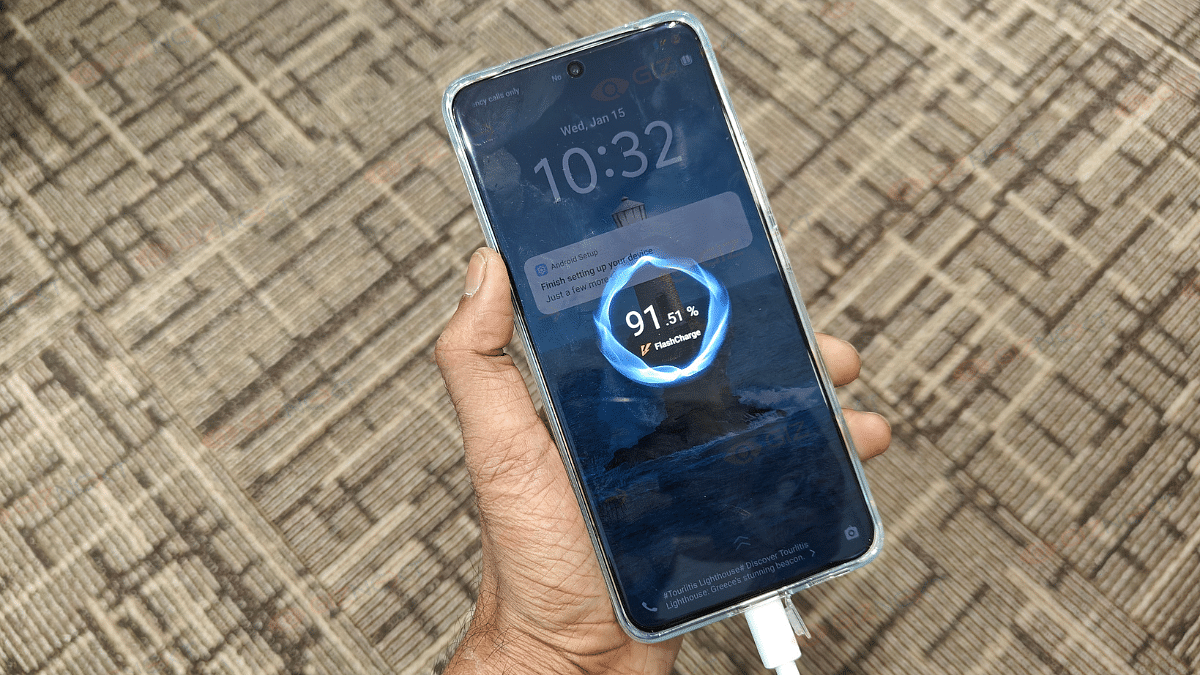
Night Mode is a dedicated mode available commonly in smartphone’s default camera app. It’s functionality is to make use of computational photography to process high-quality low light images. It does so by merging multiple frames while making the final output brighter than the default settings in low-light conditions.
- Reduces grains and noise in the final output
- Might require a tirpod or stable surface to keep the phone still during image processing
Also Read: 5 Tips To Avoid Smartphone Overheating
Tip 2: Use Manual Focus And Focus Lock
One of the common issues that you will experience while capturing a low-light shot is the focus loosing out. You should consider adjusting the focus manually instead os using the auto focus mode. Also, lock the focus on the subject to get that perfect frame during night photography.
Also Read: Enhance WhatsApp Privacy: How To Blur Images On WhatsApp Mobile, Desktop App
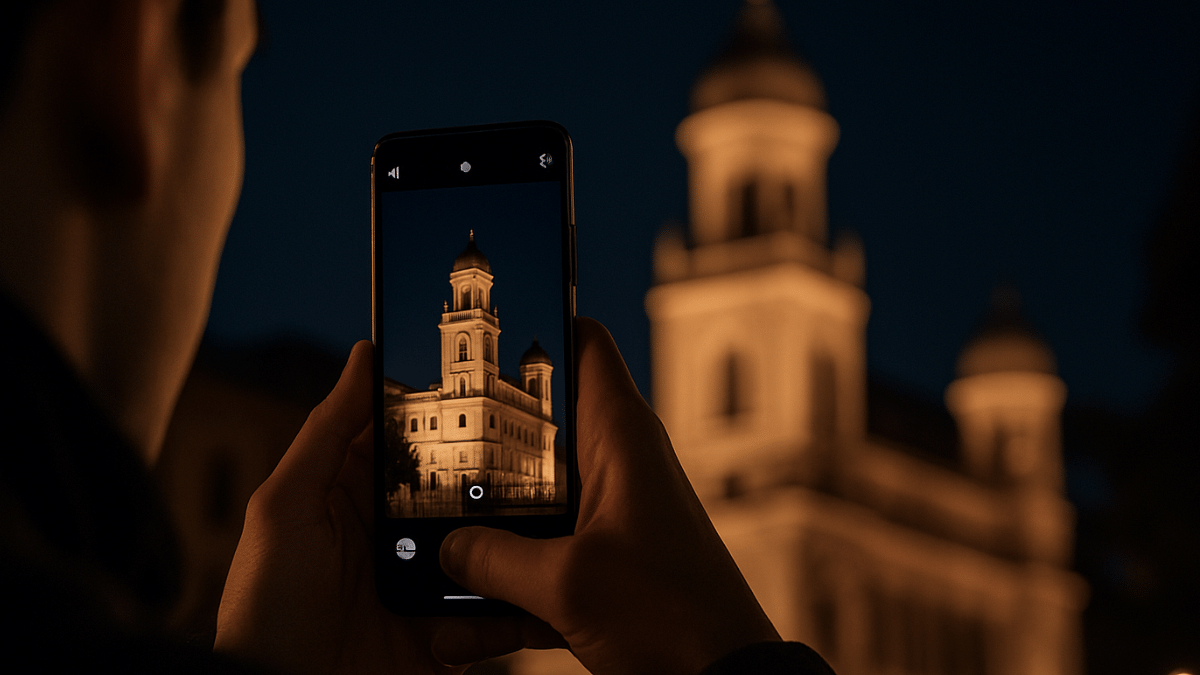
Tip 3: Consider Switching To Pro Mode And Adjust Exposure/ ISO/ Shutter Settings Manually
Pro mode helps you capture that perfect night shot. You can manually adjust the exposure settings and shutter speeds for the high-res output. Just for reference, lower ISO levels and slower shutter speeds generally gives better output with low-light shots.
- ISO Range: Set it between 200- 400 initially. Check the output and increase if required.
- Shutter Speed: Should be lower ranging between 1/4 to 1/2 seconds.
Also Read: Best Selfie Camera Apps For Android
Tip 4: Ensure Camera Lens Is Clean
A common mistake that stops us from getting better quality images. While the camera lens might look clean, it could have a fine layer of dust or fingerprint that can easily ruin the image/ video quality. Ensuring camera lens is clean will definitely improve the image quality overall. Only use a soft cloth that too gently to clean the camera lens. Make it a practice every-time before you capture a shot.
Also Read: Best Apps To Detect Hidden Camera For Android And iOS
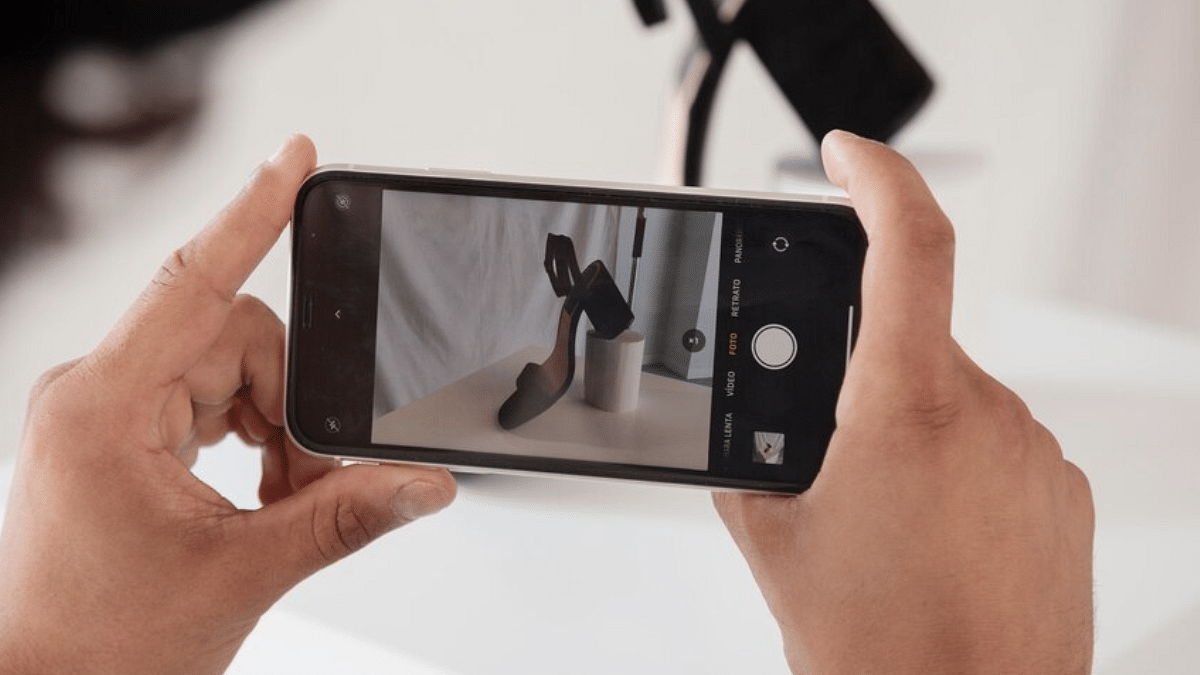
Tip 5: Stick To RAW Format For Better Editing

If you can edit photos, then clicking any photo in low-light in RAW format will make it easier to edit later. Overall details retention is higher in the RAW format as compared to JPEG or any other format. Besides, you can later use dedicated editing tools such as Adobe Lightroom, Snapseed, Canva etc., to further refine the quality.