Key Highlights
- DigiLocker is a free digital document storage platform by the Government of India
- Users can store Aadhaar, driving license, PAN card, and educational certificates
- DigiLocker promotes digital empowerment by offering secure document management
Digitalization has simplified many aspects of our lives, and managing important documents is no exception. DigiLocker, a government initiative, offers a secure and convenient platform for storing and accessing various documents digitally. Here’s a step-by-step guide on how to sign up for DigiLocker and create your account. Also Read | Lok Sabha Elections 2024: Here’s How To Download Your Voter ID Card Online In Minutes
What Is DigiLocker?

DigiLocker is like your virtual document locker, where you can store important documents such as Aadhaar card, driving license, PAN card, and educational certificates. It’s a free service provided by the Government of India to promote digital empowerment.
How To Create Account On DigiLocker
Step 1: To get started, visit the official DigiLocker website using your web browser.
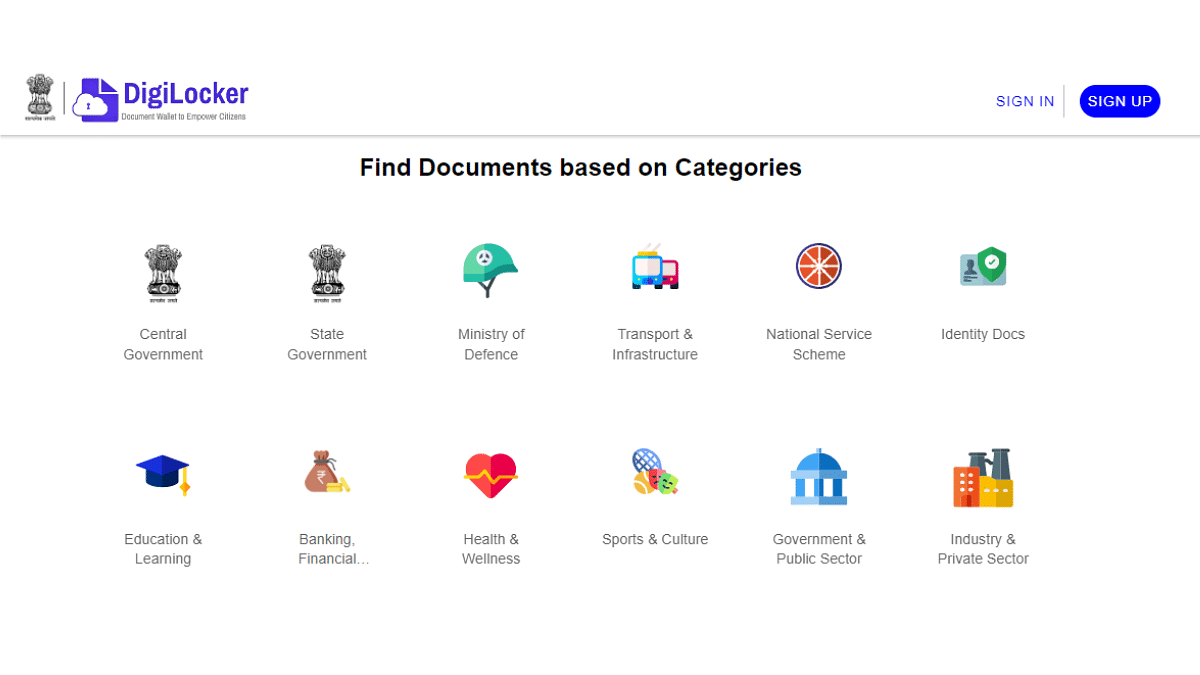
Step 2: On the homepage, you’ll find the “Sign Up” option. Click on it to start the registration process.
Step 3: You will be asked to provide your mobile number. Enter your mobile number and then click on “Continue”.
Step 4: You will receive an OTP on the mobile number you provided. Enter the OTP in the designated space and click on “Verify OTP”.
Step 5: After OTP verification, you need to choose a username and password for your DigiLocker account. Make sure to choose a strong password that includes a mix of letters, numbers, and special characters for security.
Step 6: Next, you’ll need to fill in your personal details such as name, date of birth, and email address. Make sure all the information provided is accurate.
Step 7: Set up security questions and answers. These will help you recover your account if you forget your password.
Step 8: Read through the terms and conditions of using DigiLocker carefully. Tick the box to accept them if you agree.
Step 9: Once you have filled in all the necessary information, click on the “Sign Up” button to complete the registration process.
Step 10: You may receive an email asking you to verify your email address. Click on the verification link in the email to confirm your email address.
Your Account Is Ready

Congratulations! You have successfully signed up for DigiLocker. Now you can start uploading your documents and accessing various government services online.
Also Read | Online Safety: Eight Essential Cybersecurity Tips For Kids
Conclusion
Signing up for DigiLocker is a simple process that allows you to access your important documents anytime, anywhere, digitally. By following these easy steps, you can create your account and take advantage of the benefits of digital document storage and access.
