
Key Highlights
- Apple Maps allows auto ETA sharing on Maps
- ETA can be shared with saved contacts
- Feature beneficial for keeping users updated with travel
One of the biggest rivals to the Google Maps is Apple Maps. Available as the default navigation app for iOS devices including iPhones and iPads, Apple Maps makes it easy for the masses to reach unknown destinations and find nearby emergency services as well. While the range of features offered by both Apple Maps and Google Maps are familiar, they both have specific set of features that are distinguishable. Amongst the common set of features that you can find on both navigational apps is the ETA sharing with contacts. Apple Maps takes a step ahead with automatic ETA sharing with favorite contacts. This helps with route and map planning ahead of any trip and also keeps the contact updated with your estimated arrival time. What all steps you can follow to enable automatic ETA sharing with your contacts when using Apple Maps on your respective iPhones or iPads? Take a look below:
Also Read: Google Maps Hacks: How To Use Google Maps Simultaneously On Multiple Devices
Automatic ETA Sharing In Apple Maps: Detailed
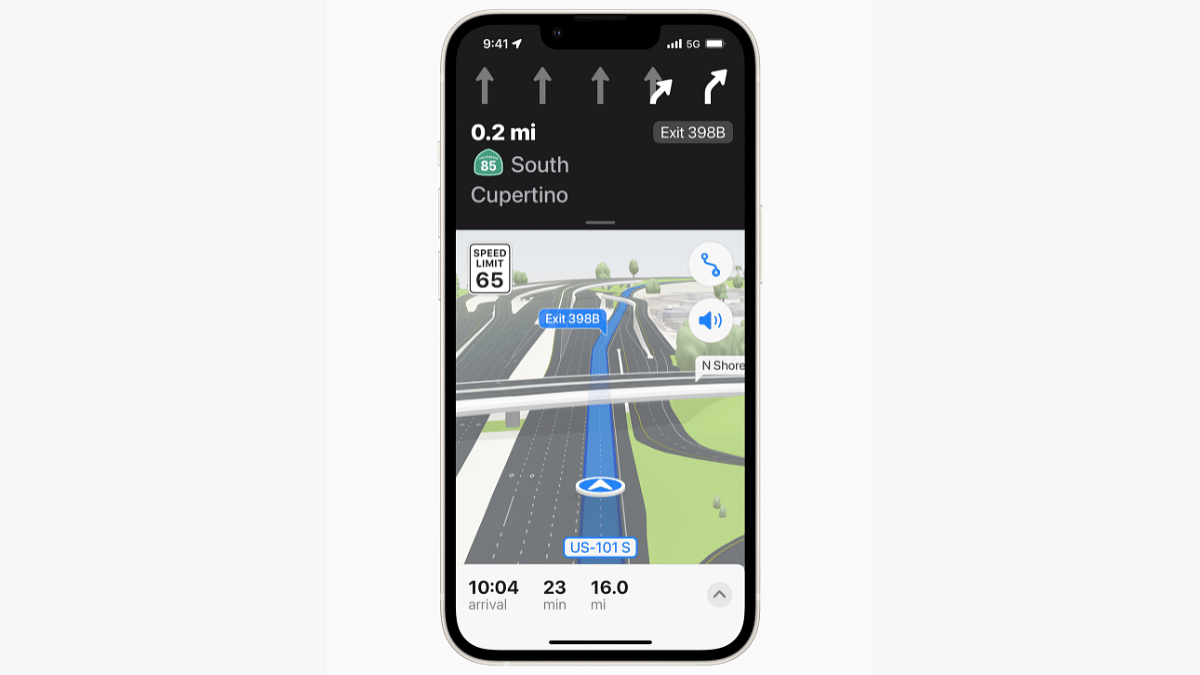
Apple Maps allows users to enable a specific setting which allows automatic ETA sharing with dedicated contacts. One can enable the settings on Apple Maps using iPhone or iPad that are running on the new iOS versions. After this setting is enabled, the ETA will be shared to the selected contacts automatically when you are travelling to the ‘Favorite location’ which also needs to be added for this feature. Once the user starts his/her journey to the Favorite location, the ETA sharing message will be displayed at the bottom of the screen. The steps to enable it are mentioned below:
Also Read: First VinFast EV India Debut Slated For 2025: These Could Be The First Models
Steps To Manage And Share Automatic ETA With Contacts Using Apple Maps
Step 1: On your iPhone or iPad, open the Maps application. This feature will work for iPad with both WiFi only and WiFi+ cellular models.
Step 2: Click on the profile picture icon placed on the right of the search bar.
Step 3: Tap on the Favourites option. You’ll see a new window pop up on the screen displaying the locations that you’ve already tagged as Favorite. Y
Step 4: Spot the Info (i) button placed next to the Favorite location
Step 5: Now, scroll and locate the Share ETA option. You can review the contacts with whom the ETA is being shared automatically.
Step 6: If you wish to remove any specific contact, tap on the Remove icon placed next to the contact.
Step 7: Similarly, you can also add a new contact. To do so, tap on the Add Person option and select the contact from the contact list.
Step 8: Once all these steps are complete, the automatic ETA sharing gets enabled on the Apple Maps.