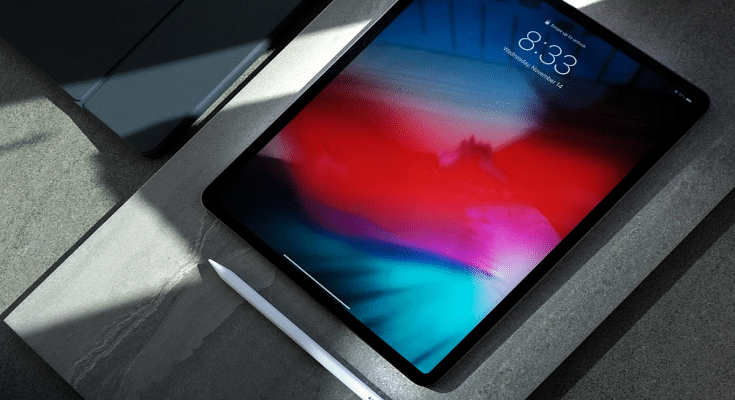
Apple iPads are the top-of-the-line Android tablets that one can buy in the markets nowadays. There are numerous iPad models that you can select depending on your daily requirements. Apple has released different iPad tablet lineups for the masses. Amongst the several available Apple iPad series are the iPad Air, iPad Pro, and iPad Mini. The price range for each Apple iPad lineup is different; so are the internal features.
For affordable audiences as well, Apple has a dedicated iPad lineup, i.e., the Apple iPad Air and the iPad Mini. The iPad Pro models are designed for the premium category users that can’t compromise anyhow on performance. All the iPad tablets are packed with Apple’s newest hardware and software technologies to deliver the best-in-class performance.
You can perform numerous tasks with an iPad. The most common usage to date with Apple or even Android tablets remains web surfing and multimedia playback. These big-screen tablets are also well loaded to handle gaming and complete most of the professional tasks for which you would otherwise have required a laptop or PC.
Now, the capability of any Apple iPad can’t be measured just with the specs. It’s with the functions that you can perform. Grabbing a screen (screenshot) is one of the most common features that every iPad user must have tried using once. But with the advancements in this tech space, Apple iPad users also get the provision to record an entire screen.
We already have shared the procedure with which you can capture a single page or a full-page screenshot on iPads and also save the latter as PDF files. Adding on to the iPad tips and tricks, we have now listed the method with which you can record the entire screen on your iPads. Below are the steps:
How Can You Create A Screen Recording On iPads?
Before we proceed with the steps, we would like to add that you can not only record the screen video but also audio on your iPads.
Step 1: Open the Settings menu on your respective iPads.
Step 2: Click on the Control Center.
Step 3: Tap on “+” icon placed next to the Screen recording option.
Step 4: Now, you will need to launch the Control Center app.
Step 5: Tap on the record option. Make sure you wait for the countdown to begin. It will be a three-second timer following which the screen will start recording.
Step 6: Once you are done, re-launch the Control Centre and select the recording tab or the red status bar on the top of the screen. Click Stop.
Step 7: Now, open the Photos option and select your screen recording that has just been captured.
