Key Highlights
- Meta Verified now available in India
- It is a subscription bundle for creators on Instagram and Facebook
- On Android and iOS, Meta Verified is priced at Rs. 699
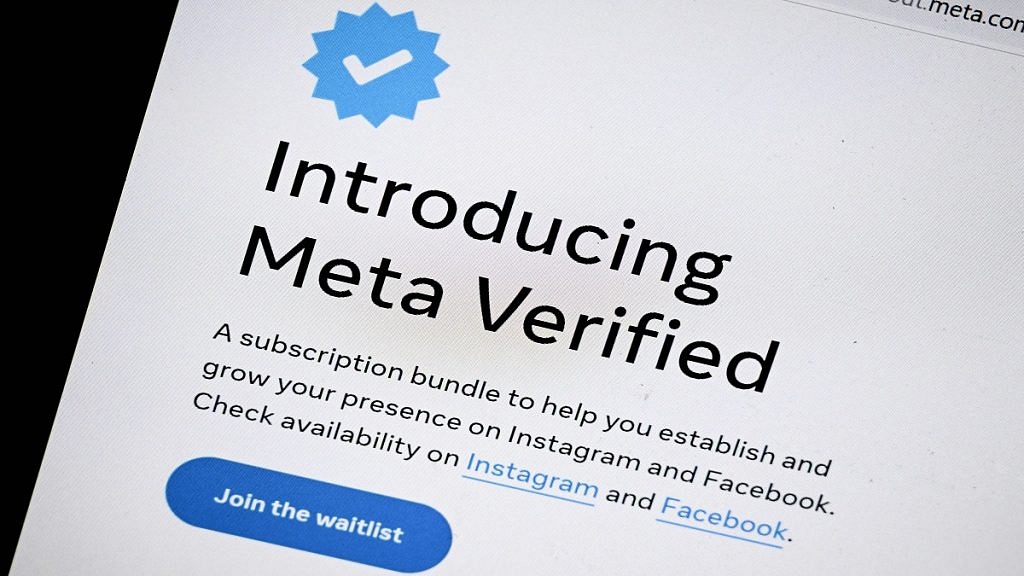
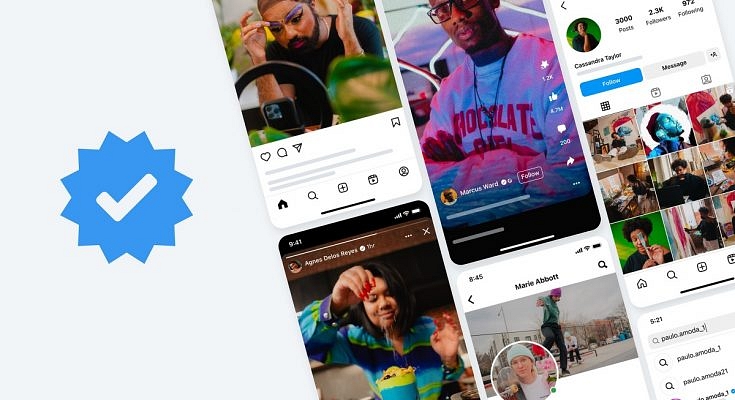
Meta has made a significant announcement regarding the expansion of Meta Verified availability to several countries, including India. This service allows Instagram and Facebook users in India to obtain the blue tick verification badge by subscribing to a monthly plan priced at Rs. 699 for iOS and Android.
Additionally, Meta plans to introduce a web purchase option in the coming months, offering a monthly subscription price of Rs. 599. As Meta Verified becomes accessible in India, users can follow these steps to opt for the service on Facebook. Also Read | How To Get Verified On Instagram: Here’s A Step-By-Step Guide
How To Opt For Meta Verified And Obtain Blue Tick On Facebook

Step 1: Access the Facebook app and go to your main profile. Tap the menu icon located at the top right corner.
Step 2: After selecting “Settings and privacy,” scroll down and touch “Settings.”
Step 3: Within the settings menu, tap on “Accounts Center” and then choose “Meta Verified” under the Account Settings section.
Step 4: You will see the phrase “Meta Verified available” displayed beneath your name and profile picture if it is available for your account.
Step 5: Review the list of benefits provided and tap “Continue” to proceed.
Step 6: Confirm your payment details and tap “Pay now” to complete the transaction.
Step 7: You will be prompted to undergo the verification process and upload your identification document.
Also Read | How To Edit Facebook Photos Via Mobile, Desktop App Directly
Step 8: Select the profile you wish to verify and tap “Confirm your identity.”
Step 9: Update your name if necessary, and then save the changes by tapping “Save.”
Step 10: Select the next step in the process and tap “Next” to continue.
Step 11: Choose the type of identification you will be using and tap “Next.”

Step 12: Read the recommendations for ID confirmation and tap “Take photo.”
Step 13: Verify that the information on your ID is clearly visible and tap “Next.” If the information is unclear, retake the photo by tapping “Retake.”
Step 14: Capture a photo of the back of your ID and tap “Take photo.”
Step 15: Ensure that the information on the back of your ID is clearly visible, and then tap “Submit.” If needed, retake the photo by selecting “Retake.”
Step 16: Wait for your ID to upload, which may take some time, and then tap “Finish.”
By following these steps, Facebook users in India can now obtain the highly sought-after blue tick verification badge through Meta Verified. Stay connected and enjoy the benefits of verified status on the platform.
Also Read | How To Get Blue Tick/Verified on Twitter – Step By Step Process and Eligibility Criteria Explained
