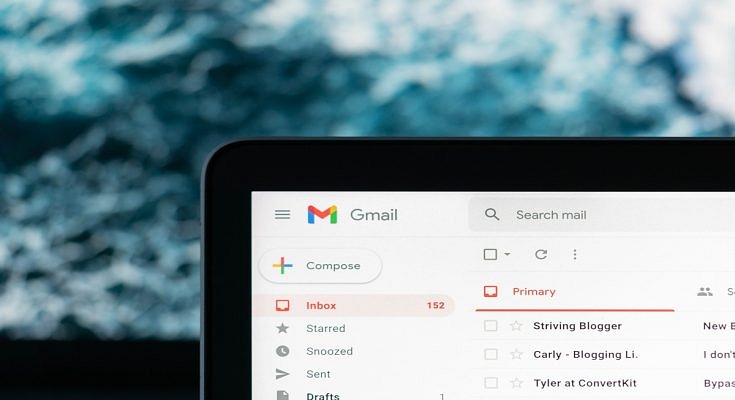
Gmail is currently one of the most widely used email services worldwide. The tech giant keeps on introducing new features to make the app more enticing and user-friendly. One such important feature is email scheduling which enables users to schedule and send both personal and professional emails. This circumstance can occur if you need to contact someone who is in a different time zone than you or remind people about an event that will take place at a certain time.
Google allows you to schedule an email by choosing the date and time you want it to be sent. The scheduling of an email can helps manage the workflow of both you and your colleagues. Besides, the process only takes a few clicks. Let’s check out how to schedule an email in Gmail. The process works roughly the same on the desktop and in the Android and iOS mobile apps.
Steps To Schedule An Email In Gmail On Desktop
The procedure to schedule emails on Gmail using a desktop web browser is as follows:
Step 1: Go to Gmail and log in to your account.
Step 2: On the top left of the screen, tap on the ‘Compose’ button.
Step 3: Draft your email. When you are finished writing a mail, click the down arrow next to send. Click ‘Schedule Send’.
Step 4: Now set a custom send date and time by clicking ‘Pick date & time’.
Steps To Schedule An Email In Gmail On Mobile
As for Gmail mobile app, instead of using the drop-down menu as we did in the desktop online version, you need to press on the three dots icon in the top right corner. The process is the same everywhere else. By following the mentioned below steps, you can easily schedule an email on mobile:
Step 1: Open Gmail on your mobile phone.
Step 2: Click the ‘Compose’ button on the bottom-right of the screen.
Step 3: Draft your email. When you’re finished with writing the mail, tap the ‘More’ icon at the top-right of the screen.
Step 4: Tap Schedule send and choose the preferred time with the help of ‘Pick date & time’ and that’s it.
