Key Highlights
- Apple Maps comes as the biggest Google Maps rival
- Available exclusively for iOS devices
- Easy setup for Home and work address
Navigational apps for smartphones have become a must for almost every single user out there. With just a smartphone that has an active internet connection and a navigation app installed, you can easily venture on to new destinations without the fear of getting lost. Google Maps is currently the most trending mobile navigation app be it for Android or iOS users. However, for the latter, Apple Maps serve as the default navigation application. Feature-wise too, Apple Maps is loaded with futuristic navigational tools and services and is as capable as Google Maps. You can setup addresses and access them later for easy direction guide when you are at a new place. In one of our previous articles, we guided you with the steps to add and modify home address on Google Maps. Now, we are providing the step-by-step guide to setup the same on Apple Maps. Read the steps below:
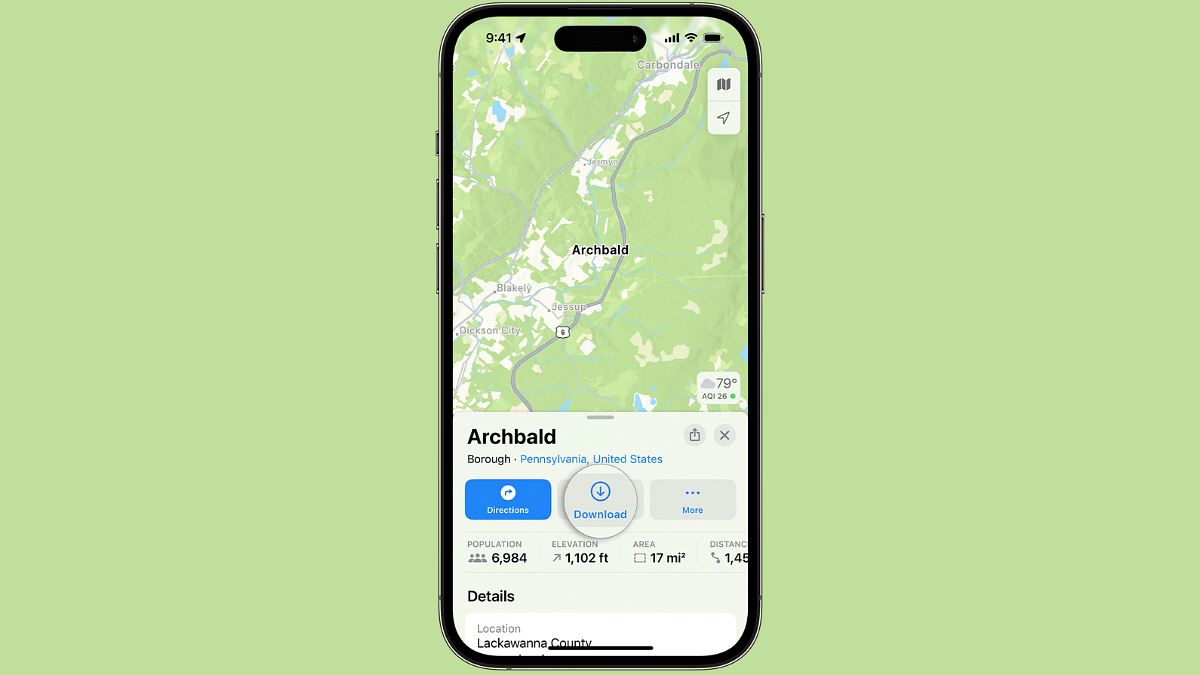
Also Read: Apple Maps Offline Download Guide: Steps You Use Apple Maps Without Internet
Steps To Add or Edit Home Address In iOS Devices
As is the case with Google Maps, you will need to use the Apple iPhone or iPad which is running on iOS 16 or above or iPad OS 16 or above respectively. The updated or the latest iOS version will ensure all the features function properly and users get access to all the navigational services available with the newer version. If your app isn’t updated, do check for a manual update. Rest of the steps to add and edit home address are as below:
Step 1: Open the Apple Maps mobile app on your iPhone or iPad runninng on iOS 16 or iPad OS 16 or above respectively.
Step 2: Move to thee Favorites option.
Step 3: Tap on Add option.
Step 4: Enter the address which you wish to add your home.
Step 5: Once the address location shows up on the app, tap on it to select it.
Step 6: Now, go to the “Type” option.
Step 7: Select “Home”.
Step 8: Now, click on the Update option if you wish to save it to the Contact card
Step 9: Now, hit Done.

