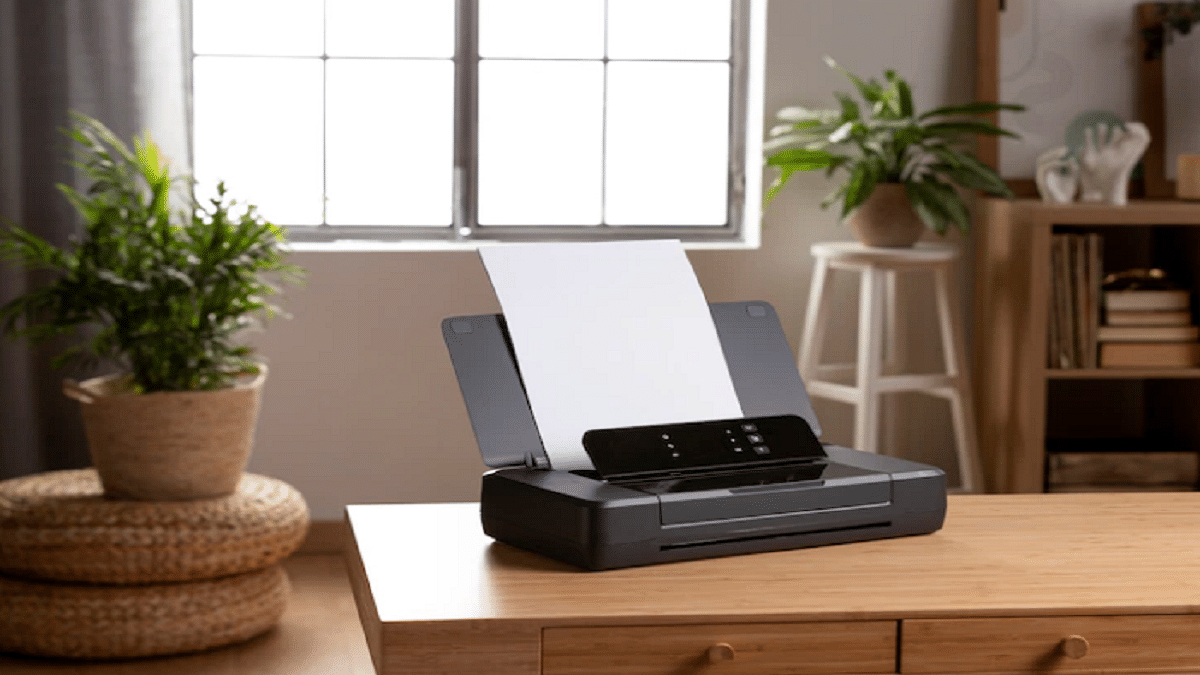
Printers like other electronic gadgets have evolved with the latest technological innovations. India is also one of the largest markets for printers with brands introducing all ranges of products such as all-in-one printers, monochrome, laser/inkjets, etc. Tech advancements have not just made it possible to print multiple pages quickly but also use other services such as document scan and fax alongside.
Also, you aren’t now restricted to print your required documents on A4 sheets (for general prints). Modern printers can give prints on various paper formats and support printing beyond simple texts. Clicking borderless images is also a possibility with new-age printers. If you own one such printer that is capable of printing on various paper formats and different content types, you can also print images without any borders. What all steps are required to do so? Read on here:
How Can You Print Borderless Images
In order to give a command for borderless image print, you should ensure that your printer supports this feature. The default settings might not be toggled on and you would need to make the changes to the required settings manually. In general scenarios, most printers can easily print borderless images on A4 paper type.
However, some advanced printers are capable of printing borderless images on any type of paper. Also, if your laptop or PC with which you are giving this print command is running the latest version of Windows OS, you can make the required settings modification using the control panel itself. Otherwise, you would need to make the changes according with the printer settings. For HP printers, the steps are listed below:
Step 1: On your Windows laptop or PC, go to the Control Panel.
Step 2: Select the Printers and Fax option and select the printer model.
Step 3: Go to the General tab settings and select Printing Preferences.
Step 4: Now, click on the Photo printing-borderless option and select the apt paper size for borderless print, and set the print orientation. You can select either landscape or portrait paper type.
Step 5: Once the desired print settings are set, clock on OK to give the print command.

